
Very often, I’ve found that it is an advantage to have Android running in a virtual machine (say on a desktop or a laptop) and use the Android applications.
Welcome to android-x86
Android runs on x86 based machines thanks to the android-x86 project. I download images from here. What follows is a simple, step-by-step How-To to get Android running on your x86 based computer with VMWare. I assume that much the same thing can be done with some other emulator (like VirtualBox).
Install android-x86
The screenshots below show the steps involved in installing android-x86 on a Mac.

Choose “Create a custom virtual machine”

Choose “FreeBSD 64-bit”

I used the default size (for now; I’ll increase the size later).

For starters, we can get going with this.

I was installing android v8.1 RC1

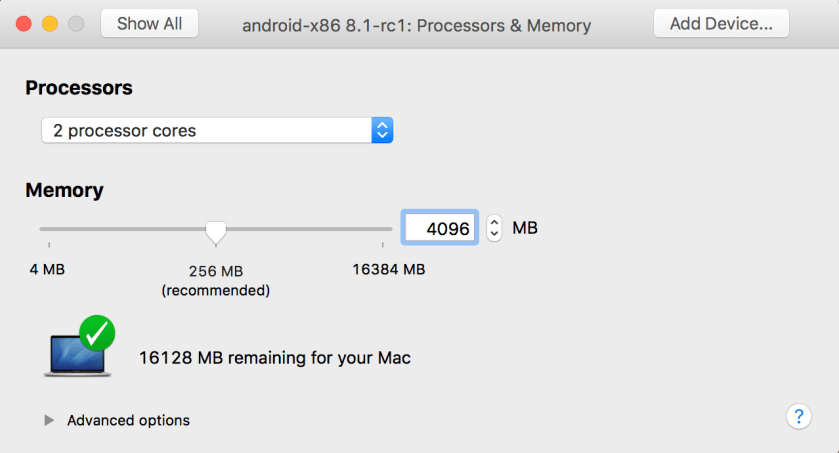
Increased #cores and memory as above.
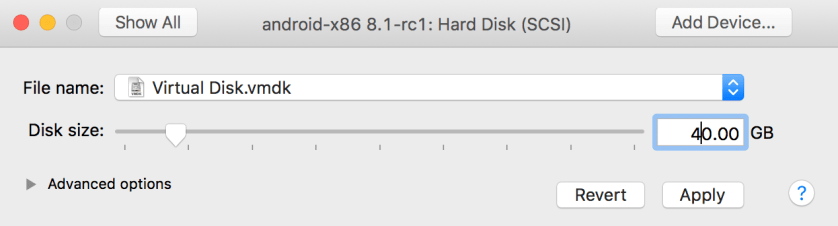
Resized the drive to 40GB.
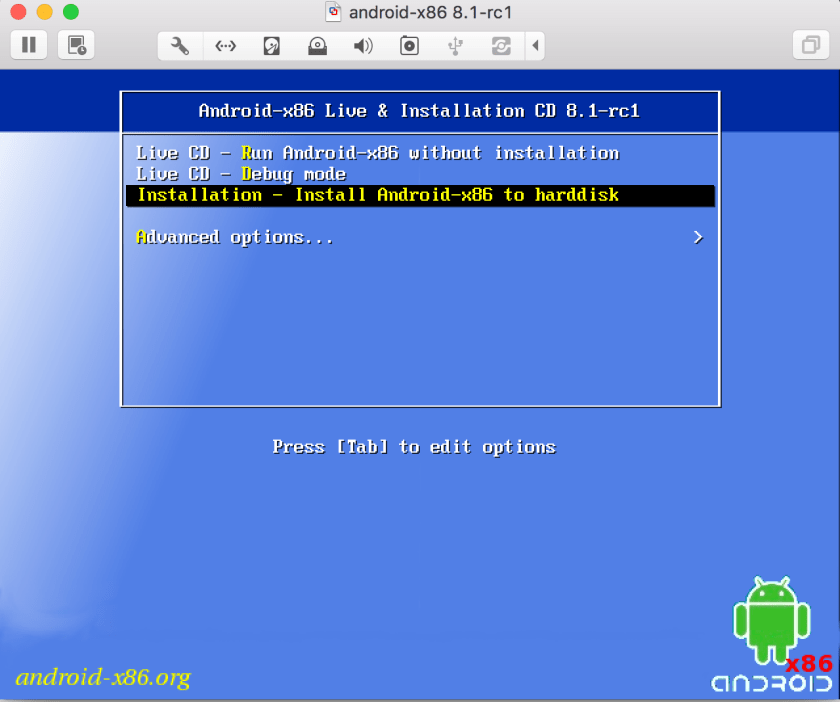
And with that, began the installation.
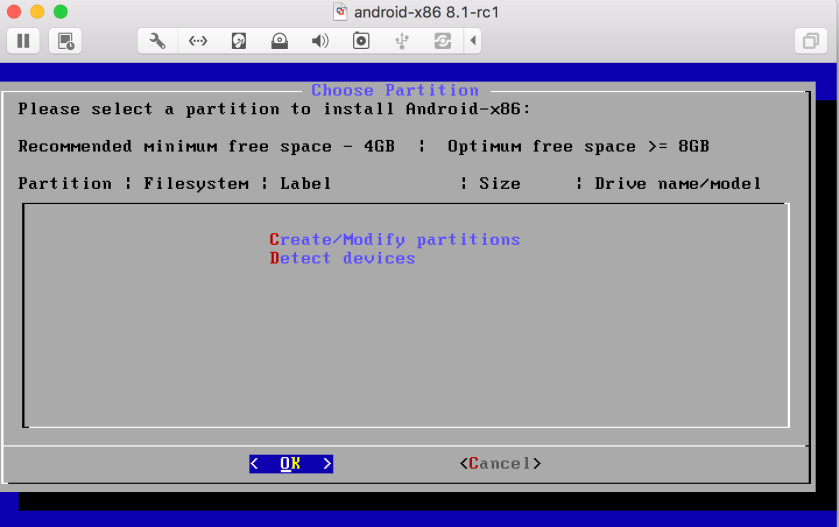
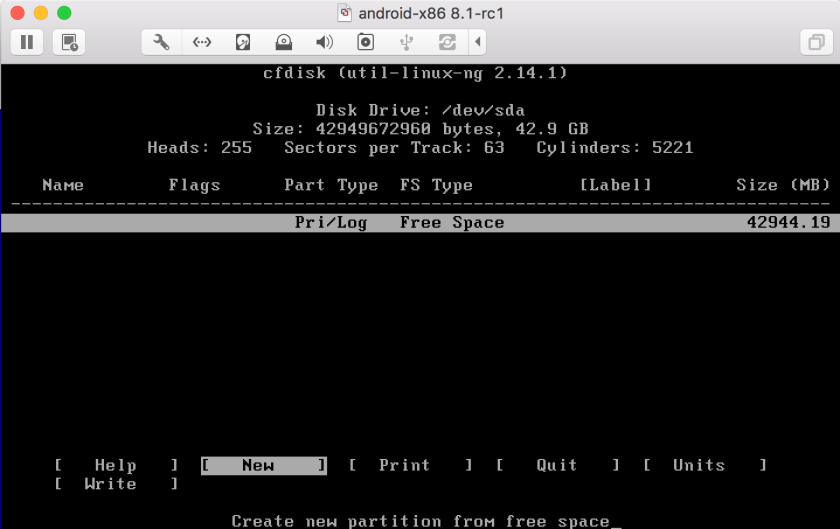
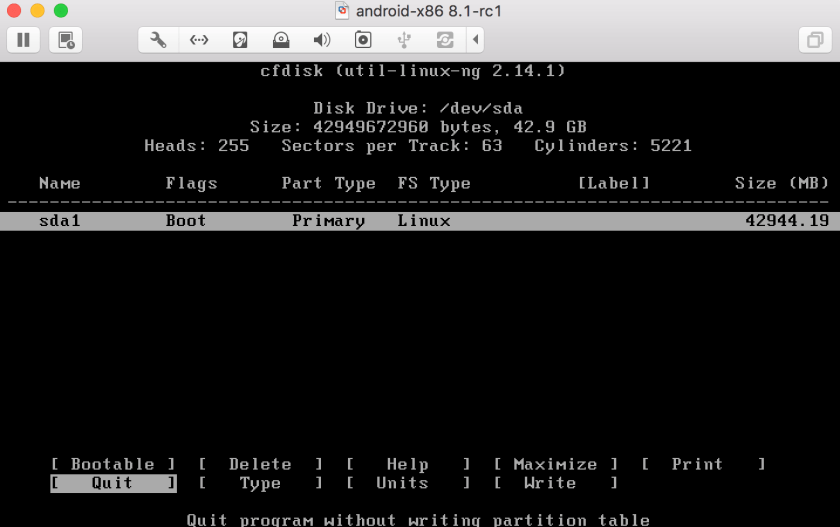
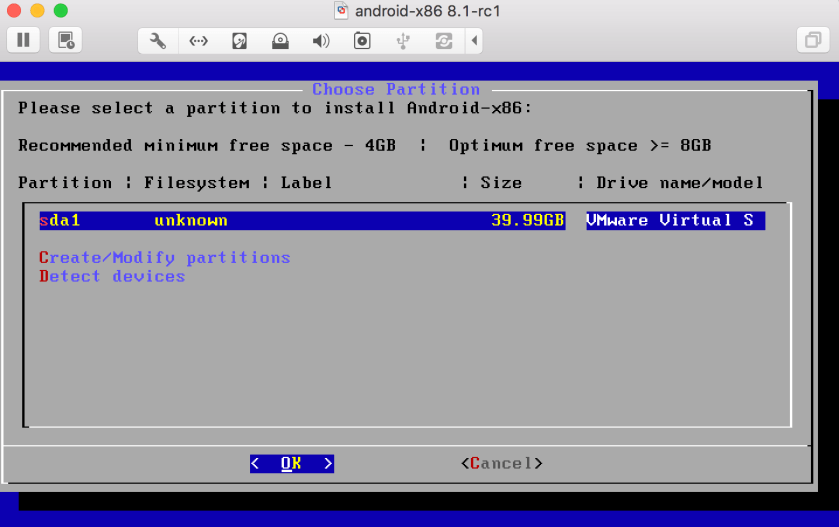
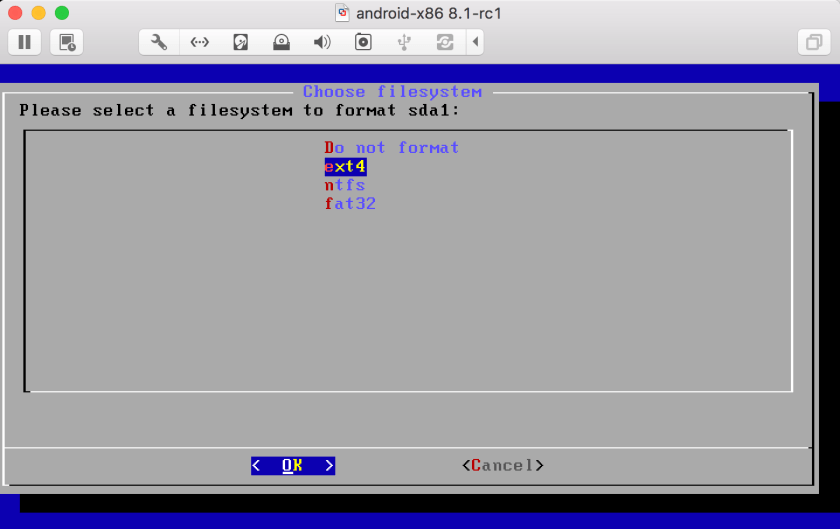
Options during installation.
The options and choices are self explanatory. Screenshots show the options that are chosen (selected).


One final thing – enable 3D graphics acceleration
Before booting, you should enable 3D graphics acceleration. I’ve found that without this, you end up in a text screen at a shell prompt.

And finally, a reboot!

That’s all there is to it, you end up in the standard android “first boot” process.
