
I have been using a Raspberry Pi (I’ve bought a few of these on Amazon, at $50 each, they are a bargain) for some time now and have found them to be excellent for a number of things.
A recent project to set one up as a WiFi access point got me thinking that I should, maybe, share some of these use-cases.
So, here’s a primer on how I setup the Raspberry Pi. I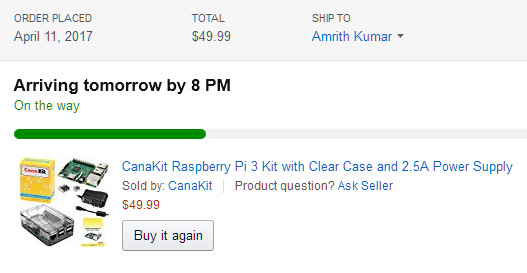 have a new one on order right now so this is an actual first-time setup.
If you have never done this before, don’t worry, it is very simple.
Assembling your Raspberry Pi
New and out of the box, the only things that you have to do are
- Figure out how to affix the heat-sink on the processor; I always use the largest one that they provide. Do this once, do it carefully and you will have no issues later
- Figure out how to get the board neatly into the nice clear plastic case.
Formatting your SD card
I don’t purchase the “complete kit” which comes with a Micro-SD card. I usually have a card or three hanging around and set it up using NOOBS (That’s Raspberry Pi’s New Out Of Box Software).
Since I setup the card on a Windows machine, there is one thing I’d like to highlight. The documentation makes it sound hard, they have you download some special format utility and all that stuff. Don’t bother.
Just follow the easy instructions found here.
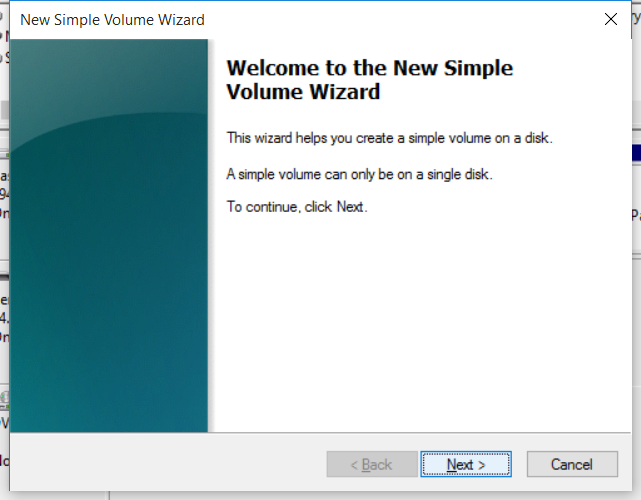
- Launch the disk management utility.


My new 16GB disk drive is the one that shows up as Disk 1.
This was a brand new SD card, if you are reusing an SD card, you may see multiple partitions, delete them all.
If you find that the “Delete Volume” options are greyed out, you will have to use the Windows Command Line. Use the diskp art utility, select the disk, then select each partition in turn and delete it. You will be left with a disk that looks like this.
Observe that now Disk 1 is shown as “Unallocated”. I always make sure I get here and format the disk.
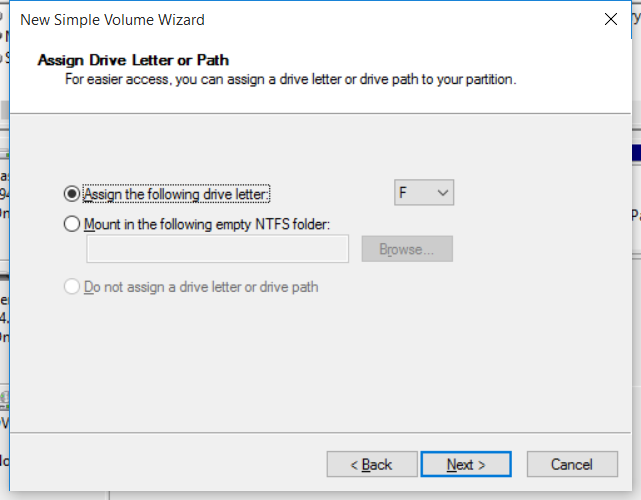
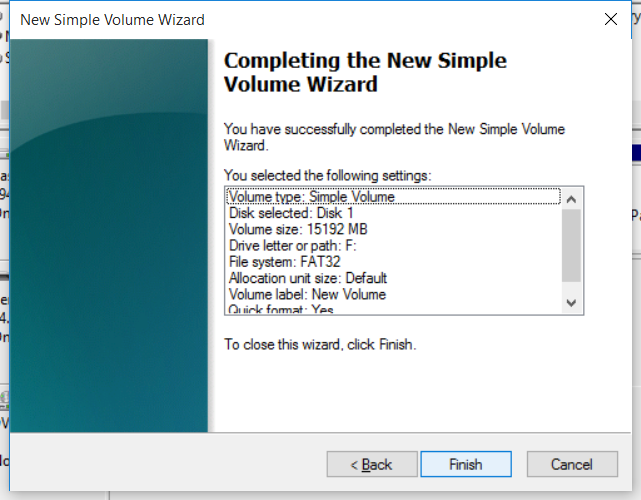
- Format the disk
You do this by simply right clicking on the “Unallocated” disk and choosing “Format”. Be careful to choose FAT32.
 |
 |
 |
 |
 |
 |
- Copy NOOBS onto the new SD card
Download the latest NOOBS zip file and unzip it. Then just drag and drop the whole thing onto your new SD card. Safely eject the SD card, make sure the power is disconnected from the Raspberry Pi and plug the card into the slot. Then … the moment of truth. - Power up the Raspberry Pi for the first time
If you did everything correctly, you should see a NOOBS screen that comes up and allows you to choose the operating system. I usually enable WiFi at this point (or if the wired network is connected, that works too) , and then I follow the standard NOOBS documentation, setup Raspbian with PIXEL, and then reboot. - On first boot, I enable the SSH server, set the locale, timezone and things like that and from that point the rest of the setup is done from command line.
That’s really all there is to your first time Raspberry Pi setup!
